The game was accompanied by proper background music:

I treated the scenario as a small, fictitious portion of the French attack on the Anglo-Allied center. To win, either army needed to be the sole occupant of the hill at the end of turn 15. Here is how the battle unfolded:
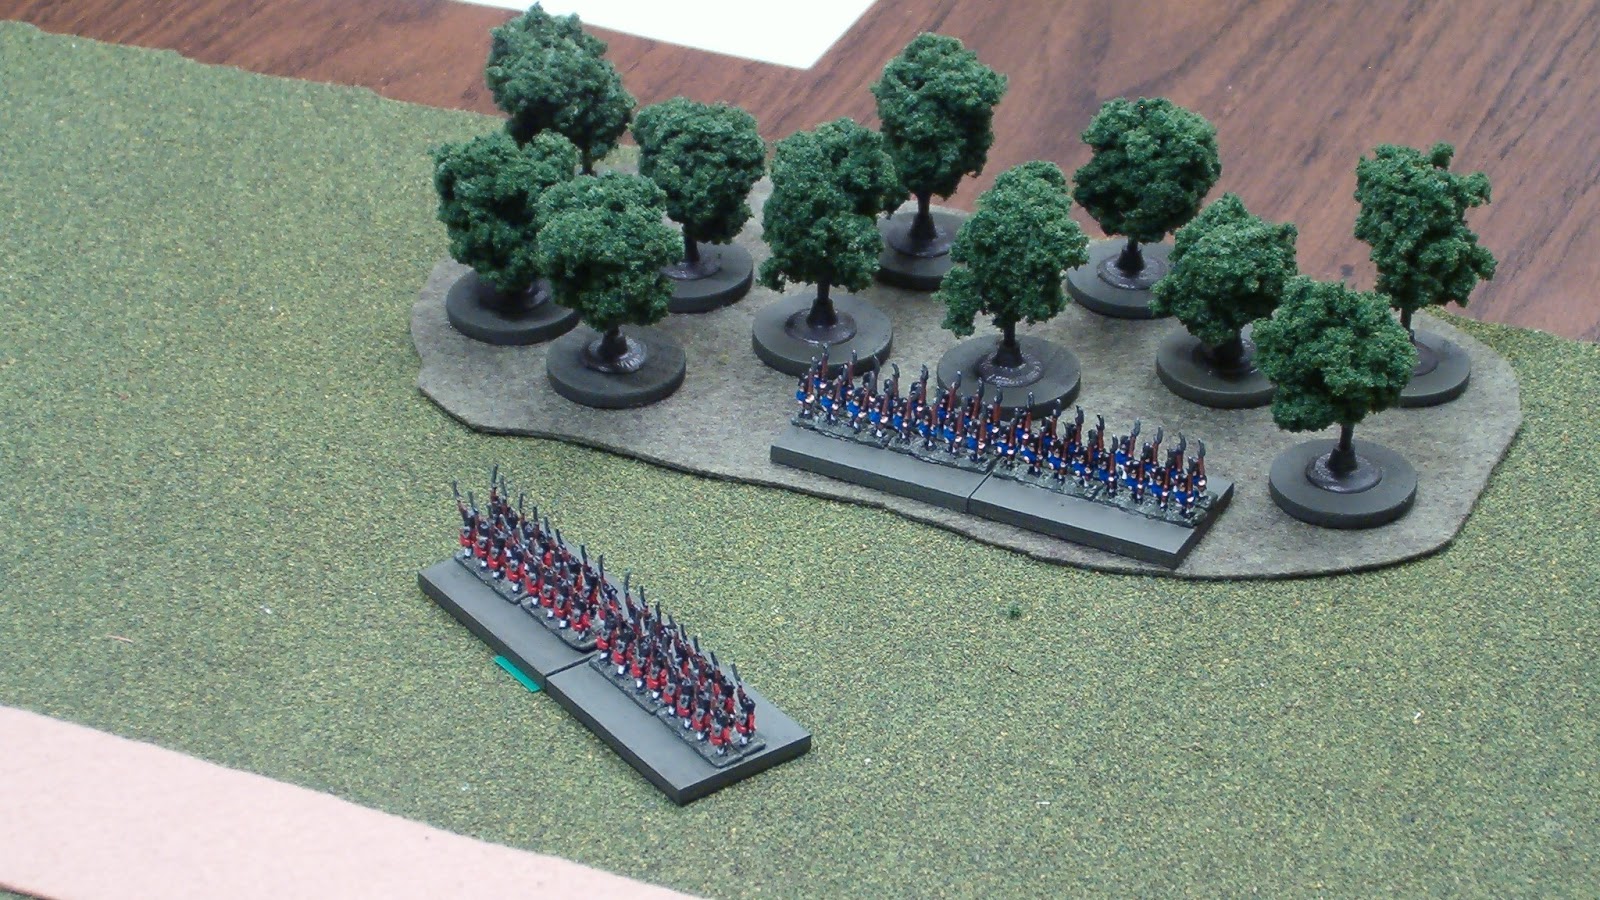
Introduction: Two isolated British regiments occupy a forward position on a low hill in the center of the Anglo-Allied line. The French have spotted this, and have set out to seize the high ground before British reinforcements arrive.
Turn 1: The British send reinforcements down the road to get support near the hill as soon as possible. One regiment heads over open ground to support the two regiments already on the hill. The French send their cavalry up the road to delay the British reinforcements, while the light infantry follow them, intending to occupy the woods from which they can harass British movement on the road. The rest of the French force assaults the hill.

End of Turn 1
Turn 2: The French and British cavalry clash on the road, and the French infantry and artillery trade fire with the British regiments on the hill. The rest of the British troops move up, as the French light infantry occupy the woods.

End of Turn 2: I foolishly forgot the rule that says cavalry recoil after melee
unless they eliminate the opposing unit; hence the technically improper maintenance
of cavalry in base contact with each other at the end of several turns.
of cavalry in base contact with each other at the end of several turns.
Turn 3: The French manage to rout one of the British regiments on the hill. Meanwhile, the British reinforcements begin to deploy, as the cavalry clash continues to rage.

End of Turn 3: I keep routing units on the table,
but off to the edge facing away from the enemy.
Turn 4: The British regiments on the hill adopt a "reverse slope" tactic, forcing the French to advance into their field of fire. Meanwhile the artillery and infantry of both sides continue to exchange fire, while the cavalry continue their melee.

End of Turn 4
Turn 5: The British artillery get the worse of their fire exchange and rout from the field. Two French infantry regiments advance onto the hill. For a moment, it looks like everything is going the Emperor's way.

End of Turn 5
Turn 6: Finally good news for the British – the cavalry have driven off their French counterparts. The British cavalry is near exhaustion however, and the French infantry turn to shoot at them, protecting the artillery and staying in line formation to maximize firepower against the fatigued horsemen.

End of Turn 6

Turn 6 Close-up: A furious exchange of volleys on the hill.
Turn 7: The British horse take flight before the withering volleys of the French infantry straddling the road. So far, half the British force has routed, while only one French unit has been eliminated. However, many of the French units are severely weakened and are approaching the limits of how much punishment they can take.

End of Turn 7
Turn 8: One of the weakened French infantry regiments attacking the hill is routed. The remaining French infantry and artillery push toward the hill to take its place, as the light infantry in the woods continue to exchange fire with the British infantry facing them. These two adversaries are both taking damage, but the British line infantry are inflicting more casualties than the French light infantry, despite the fact that the latter have the cover of the woods.

End of Turn 8
Turn 9: The French drive one of the British regiments off the hill.

Turn 9 Close-up: Things are coming to a head on the hill.
Turn 9 Close-up: The firefight near the woods continues unabated.
Turn 10: The French infantry climb the hill to join the artillery in the firefight against the last enemy regiment there.

Turn 10 Close-up: Can the British hold the hill?
Turn 11: The British infantry finally get the better of the French skirmishers in the woods, driving them back.

End of Turn 11

Turn 11 Close-up: The French light infantry rout.
Turn 12: The British eliminate the French artillery on the hill, as the infantry previously facing the French in the woods turn to march on the hill. For the first time in the game, the French are outnumbered. The tactical situation is prickly as all the units remaining are very near to breaking, while their fields of fire are all over the place. The British infantry on the hill can currently fire on no one, and is being fired on from the flank by the French, who in turn will be fired on from the rear next turn. The question is who will hold?

Turn 12 Close-up: situation critical – the French are outnumbered,
but maybe they have some positional compensation.
Turn 13: The French eliminate the last British regiment on the hill, but start taking heavy damage from the English infantry to their rear. It will be very difficult for the French to reciprocate.

Turn 13 Close-up: even if they turn to face the British next turn,
the French will be hard-pressed to survive a firefight.
Turn 14: The British go first each turn. They fire on the French to start this turn, as there is nothing else for them to do – infantry are not allowed to charge in these rules. They inflict severe damage that brings the French unit to 13 hits (a unit is eliminated at 15 hits and a fire attack does 1-6 hits worth of damage). Units cannot move and fire in the same turn. So, if the French turn to face the British, the French won't get to fire this turn. That means the British will get off a second volley at the start of turn 15 most likely killing the French unit and ending the game in a draw, since they themselves would not be able to move onto the hill after firing. BUT, the French don't have to stay where they are. Instead they move to a reverse slope position out of British line of sight, just as the British themselves had done back on turn 4! Only then do they turn about face. Now, if the British don't have enough movement to get up the hill, the French will win. Even if the British do manage to get up the hill, the French will have a final shot with a 50-50 chance of eliminating the British regiment, who is at 11 hits.

Turn 14 Close-up: The French found the positional tactic they needed
to shift the game back in their favor. Can the British make it up the hill?
Turn 15: The British fall just short! Their movement of four inches allows them to reach the base edge, but not to actually get onto the hill itself. The French win!

Turn 15 Close-up: Just out of curiosity, I rolled a die after the game
to see what the fire effect would have been if the British had made it up the hill.
I rolled a four – just enough to kill the British unit anyway.
Looking on at the hill he'd just lost, Wellington shook his head. "It was a near run thing. The nearest run thing you ever saw in your life."
great batrep! shows that the rules work well to build suspense through tactics and the dice and the scenarios are a great venue for the rules to play out.
ReplyDeleteThanks! I wish I had more time to play this summer. I've been swamped with other things, and my minis gaming has just fallen to the wayside. I need to get back to it.
ReplyDeleteNicely done...with great looking units!
ReplyDeleteThanks Phil! I really need to get back to painting and playing -- real life is such a buzz kill.
Delete